


3/16" Double Flaring Tool Kit
Our All-In-One Flaring Tool Kit


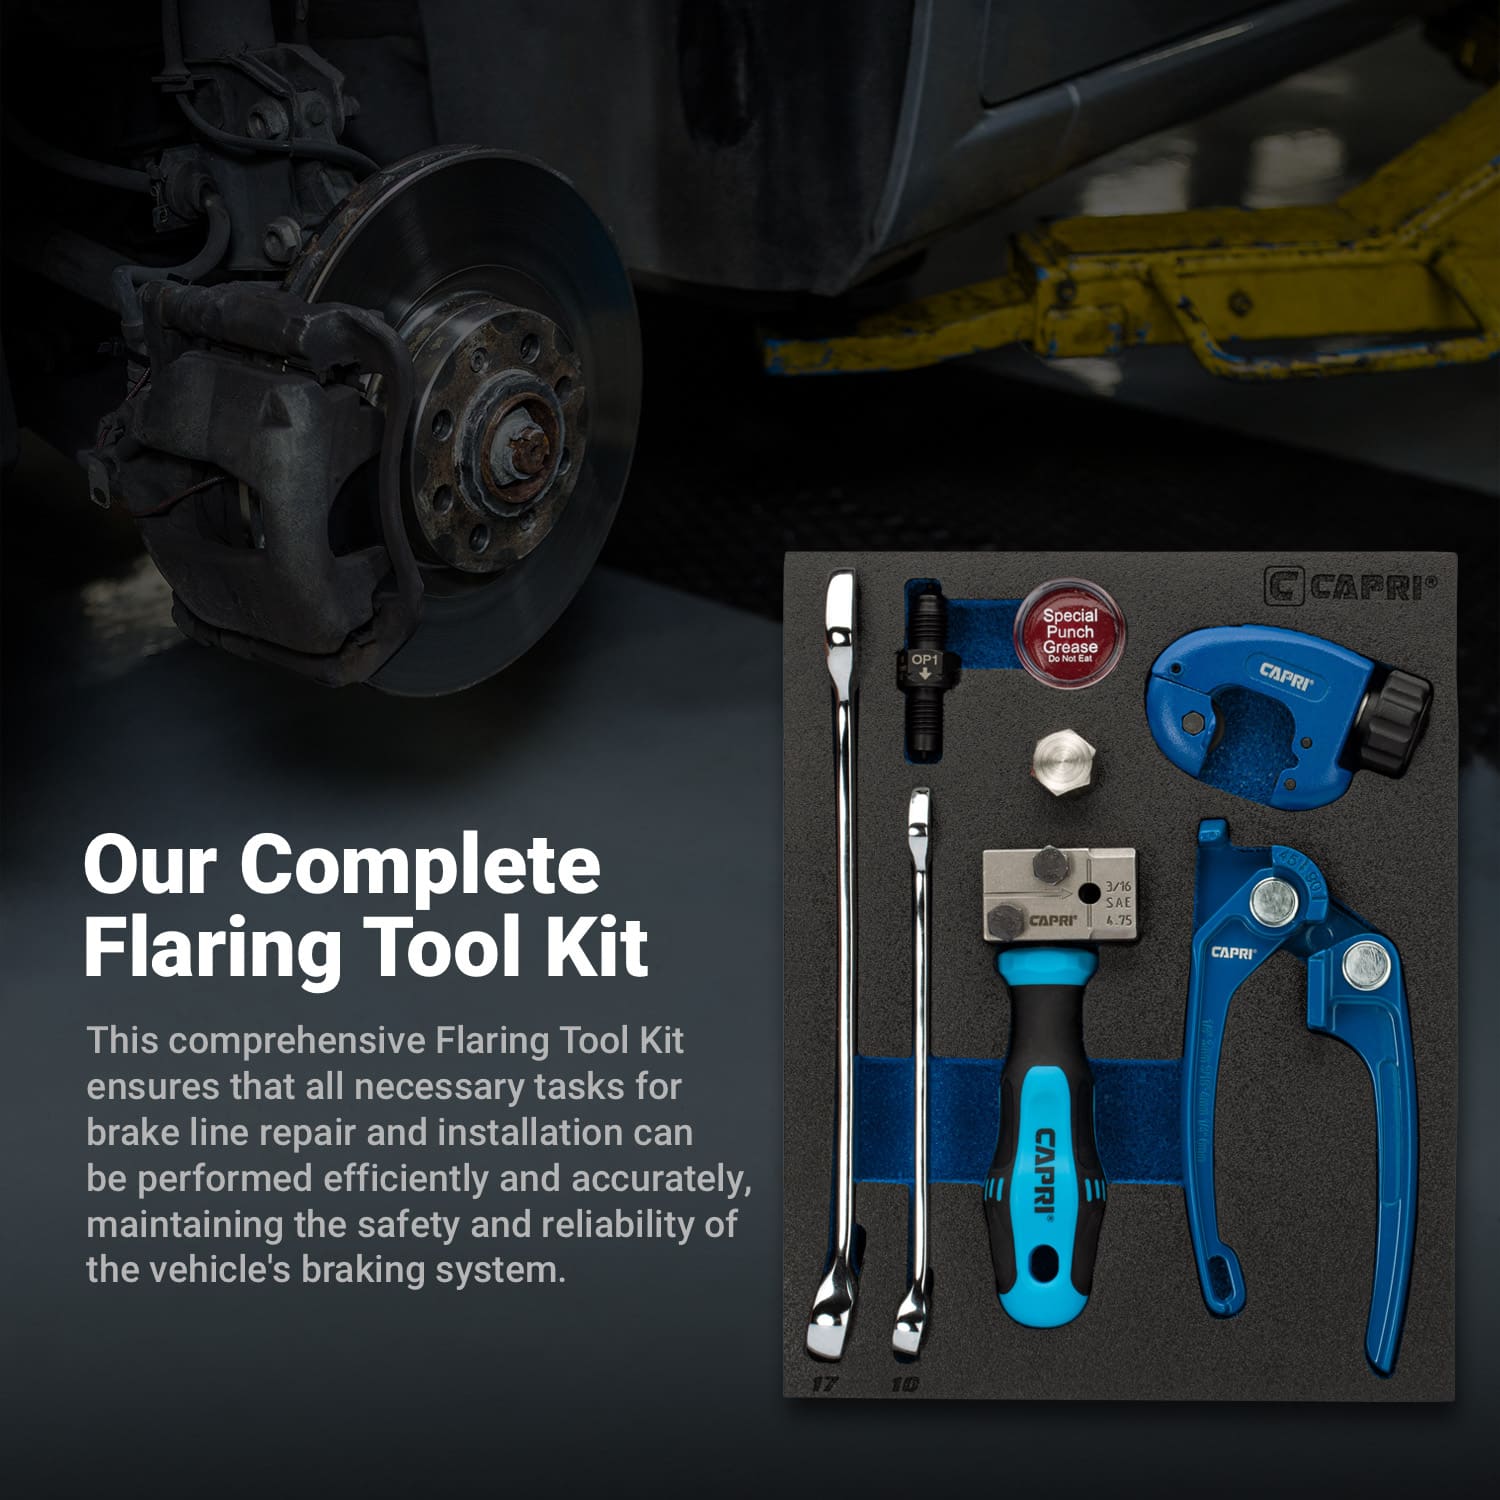
Everything You Need for the Perfect Brake Line Flares in One Kit
This comprehensive Brake Flaring Tool Kit ensures that all necessary tasks for brake line repair and installation can be performed efficiently and accurately, maintaining the safety and reliability of the vehicle’s braking system.

Double Flaring Tool
This hand held brake flaring tool lets you easily make 4.75 mm DIN/ISO and 3/16″ SAE flares.
Types of Flares
Double Flares
A double flare involves two steps: the brake line is first flared outward and then inward, creating a double layer of material at the flared end.
Bubble Flares
A bubble flare has a single outward flare that resembles a bubble or dome shape at the end of the brake line.

Close Quarters Mini Tube Cutters
The Close Quarters Mini Tube Cutters lets you easily make clean tubing cuts in tight or restricted areas.
Ultra-Sharp Cutting Blade
1/8″ to 1-1/8″ Outer Diameter Capacity
Cuts hard and soft copper, aluminum, brass, and plastic tubing in 1/8″ to 1-1/8″ outer diameter. The tube cutter has dual rollers with flare grooves for close-to-flare cutting.

Brake Line Tube Bender
It bends from 0-120 degrees with reference marks at 45° and 90° for accurate bends. Compact design lets you work easily in tight spots and fits in any toolbox.

Accurate Bending
1/8″, 3/16″ and 1/4″ outer diameter capacity
Compatible with tubing with 1/8″, 3/16″, and 1/4″ outer diameter. Easily make tight bends on round small-diameter copper, brass, and aluminum tubing.

How it Works
Step 1
Loosen Locking Screws
Loosen the (2) 10 mm locking screws to allow tubing to be inserted into the tool.


Step 2
Flush Tubing with Positioning Bolt
Insert tubing through the small opening of the tool. Tighten locking screws lightly. Insert the positioning bolt into the large threaded opening of the tool and tighten. Slide the tubing inward until flush with positioning bolt.
Step 3
Tighten Locking Screws
With the tubing positioned flush against the positioning bolt, tighten the locking screws to firmly secure the tubing. Unscrew and remove the position bolt.


Step 4
Starts with the OP1 End and Lubricate the Punch
Starts with the OP1 end. Lubricate the OP1 end of the punch with the included die lubricant.
Step 5
Create Bubble Flare
Insert the OP1 end into the large threaded opening of the tool.
Tighten the punch with 17mm wrench. The OP1 punch then makes a bubble flare.
Unscrew and remove the punch.


Step 6
Create Double Flare
Now, lubricate the OP2 end of the punch (opposite of the OP1 end) with the lubricant. Insert the OP2 end into the large threaded opening of the tool.
Tighten the punch with 17mm wrench to complete the double flare.
Final Step
Unscrew and Remove the Punch
Unscrew and remove the punch. Loosen the locking screws to retrieve the tubing from the tool.
The 45 degree double flare is now complete.

Configurations

Model: CP21110-316KT
- 3/16″ SAE Double Flaring Tool
- OP1/OP2 Punch
- Positioning Bolt
- Lubricant
- Mini Tube Cutter
- Tube Bender
- 17mm Wrench
- 10mm Wrench

Model: CP21110-316
- 3/16″ SAE Double Flaring Tool
- OP1/OP2 Punch
- Positioning Bolt
- Lubricant

Model: CP21110-14
- 1/4″ SAE Double Flaring Tool
- OP1/OP2 Punch
- Positioning Bolt
- Lubricant

Model: CP21110-SD
- 3/16″ SAE/ 4.75mm DIN Double Flaring Tool
- OP1/OP2 Punch
- DIN Punch
- Positioning Bolt
- Lubricant


Reviews
There are no reviews yet.